Making an Instructional Video Without a Crew Using Two iPhones

The Thought Process Behind This Video
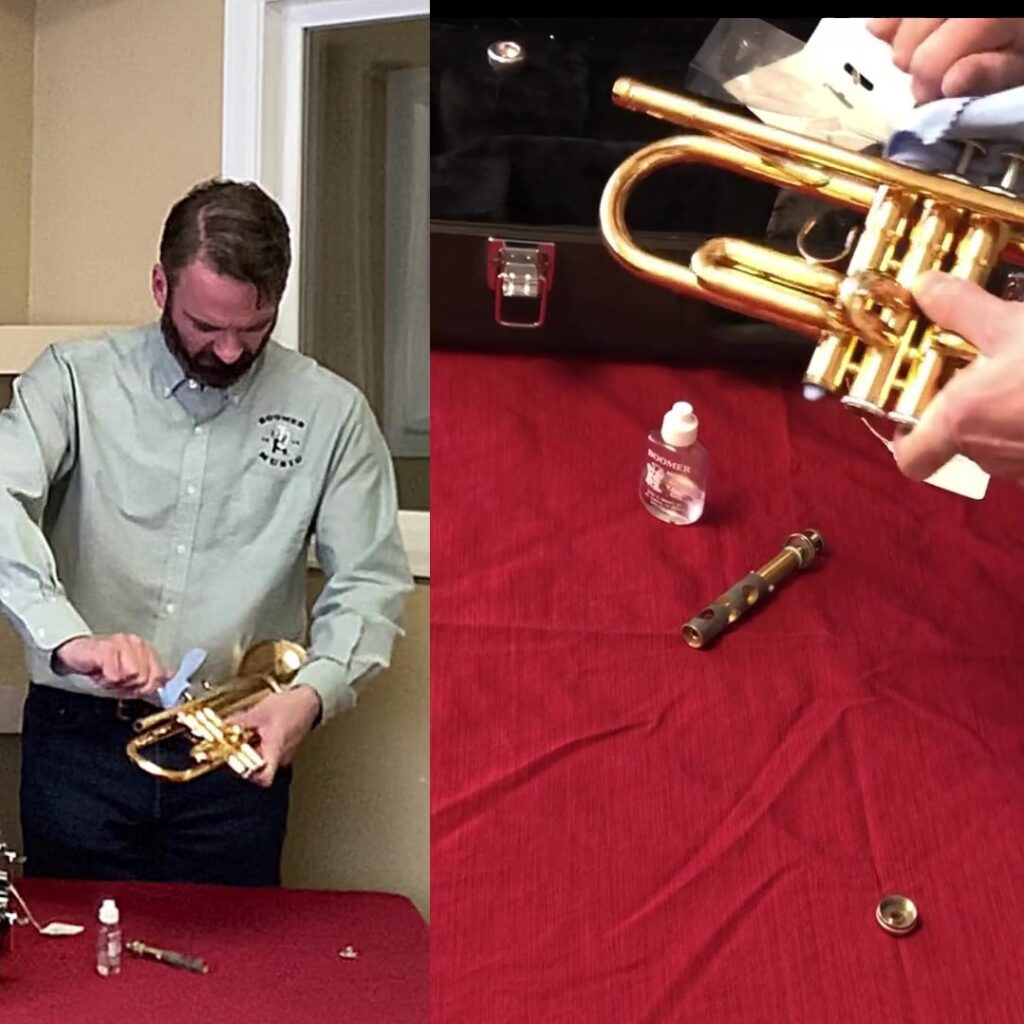
I felt like I had been focusing on The Podcasting Store and not doing enough with Boomer Music, so I wanted to make a quick video about something I’m extremely knowledgeable with: the trumpet. The number of times a kid comes into the store with “crunchy” valves that just need a good cleaning are too many to count. Following the simple steps and using the equipment shown in the video could add years of life to an instrument and save a bunch of money over the life of the horn.
Now, you may not be an instrumentalist, but I wanted to give a peek behind the curtain of how I made this video by myself using two smartphones and some recording gear, why I set it up the way I did, and the thought process behind it.
The Gear
- iPhone (x2)
- Microphone Stand (x2)
- SmallRig Clamp Mount (x2)
- Vastar Phone Holder (x2)
- Zoom Podtrak P4
- Audio Technica ATR2100 Microphone
- Rapco 6′ XLR Cable
- Audio Technica ATH-M50x Headphones (not pictured in video; used to set mic input level)
The Setup
My plan in recording this video was to use a wireless system, specifically the Galaxy GT-V. When I got it out, I realized that the receiver had been left “on” the last time I used it, so it was dead. Undeterred, I switched gears and pulled out the ATR-2100 I usually have in my bag and set it up on the boom arm of the mic stand (you can see it to my left on the video). I mounted the close-up camera (iPhone) to this same stand using the clamp mount and phone holder. Then I connected the mic to the Podtrak P4 with the XLR cable. The wide camera (iPhone) was set up on the other side of the room using the same clamp mount and phone holder with another mic stand. Then it was time to check the mic input level, since I was going to record onto the SD card in the P4.
The Problem
This is why you always check your sound before recording! When I finally tested the mic (I should remember to do it earlier before setting up everything) I realized that the room I picked because it was so spacious is just one big echo chamber. I use really nice headphones, but I would have heard how unusable the audio was even with earbuds. Luckily I was on site at Boomer Music in our lesson studio, so I just moved everything to a different, albeit smaller, room. After checking that the audio would be useable (it still echoed, but not nearly as bad) and resetting the cameras It was time to record!
The Video
I knew from the start that I wanted a wide camera shot showing me and the demonstration, a close-up showing the detail of the process, and a separate audio track recorded into the P4. I could have run the audio into the iPhone just fine (I’ve done it a lot in the past to great success) but the P4 gives me greater flexibility, specifically with mic input levels. I was trying to keep the mic out of the shot as much as possible, so the P4 allowed me to boost the input level while keeping it further away than you’d normally want it. The downside of doing this is it increases background noise, but I mitigated that in Audacity (available free for download) by filtering it out. Nothing is ever going to be “perfect”, but I’m comfortable enough with Audacity that I knew it’d work out fine for what I was trying to do.
The software I use to create the video is another free piece of software call Shotcut (download here). The biggest trick with creating a multi camera video with a separate audio track is lining everything up so the audio and video all matches. The solution is super simple! Just make sure both cameras can see you and clap real loud. This creates and auditory and visual artifact that will allow you to align the tracks with minimal headaches. Then I edited the video to fit with what my vision was in the first place.
Conclusion
Never let the perfect be the enemy of the good. This shoot fought me every step of the way, but: 1 – I had budgeted the time to make the video and I did not want to waste it, 2- I had the backup gear, space, and knowledge to adapt, and 3- I really wanted to deliver this content to our audience. In the end the actual shoot went great (got it in one take) and the editing was smooth. It took three times longer than it should have because of the forces of evil aligning against me, but I overcame them. And, in my opinion, made a pretty decent video.
If you’re thinking of making videos like this or are having trouble with one you’re making, reach out to me and I’ll be happy to help! With a few pieces of gear and some base knowledge making videos like this is a lot of fun and is a really effective way to deliver your content to your audience.
